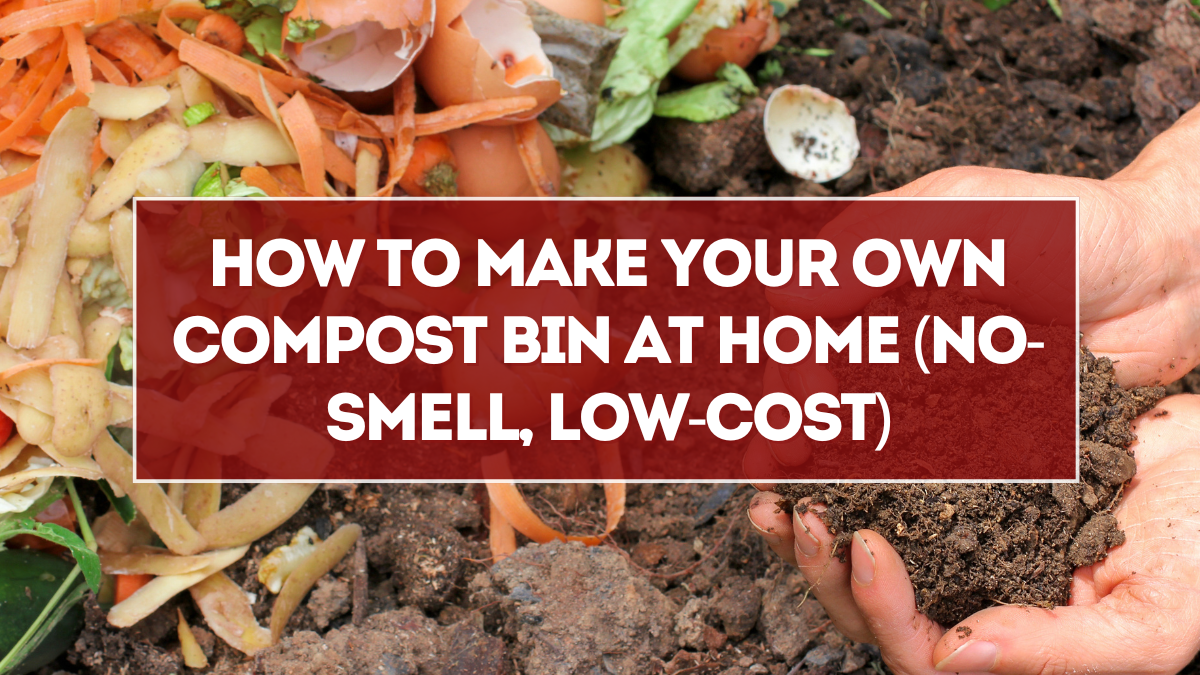
Composting is one of the most effective ways to reduce kitchen waste, recycle garden scraps, and create nutrient-rich soil for your plants. Many people hesitate to start because they assume composting is messy or smelly. The truth is that when set up properly, you can make your own compost bin at home that is both inexpensive and odor-free. With the right balance of materials, airflow, and moisture, your DIY compost system can turn waste into valuable organic fertilizer.
This guide walks you through everything you need to know: choosing materials, designing airflow, balancing greens and browns, and keeping your compost bin low-maintenance.
Why Build Your Own Compost Bin?
Buying pre-made compost bins can be expensive, and they may not fit your specific needs. A DIY compost bin, however, can be built with cheap or recycled materials.
Benefits of building your own compost bin include:
-
Saving money with low-cost or upcycled supplies
-
Designing the exact size for your garden or balcony
-
Controlling airflow and drainage to prevent smells
-
Contributing to a zero-waste lifestyle by recycling food scraps and yard waste
With just a few household tools and some creativity, anyone can set up a compost bin that works year-round.
Choosing the Right Location
Before building, pick a suitable spot for your bin. The ideal location should:
-
Have partial shade to prevent the pile from drying out or overheating.
-
Be on bare soil if possible, to allow earthworms and microbes to enter.
-
Have good drainage to avoid waterlogged compost.
-
Be easily accessible from your kitchen or garden for convenience.
If you live in an apartment, you can place a smaller bin on a balcony or use indoor-friendly composting methods like bokashi.
Materials You’ll Need
Most DIY compost bins can be built with simple supplies. Options include:
-
Plastic storage bins with lids
-
Wooden pallets or crates for larger outdoor bins
-
Metal or plastic trash cans with drilled holes
-
Wire mesh or chicken wire for open-sided bins
You’ll also need basic tools such as a drill, saw, or hammer, depending on your chosen design.
Designing for Airflow
Air circulation is the key to odor-free composting. Without enough oxygen, compost piles turn anaerobic and produce unpleasant smells.
To ensure proper airflow:
-
Drill holes on all sides of plastic bins or trash cans, spacing them 2–3 inches apart.
-
For wooden pallet bins, leave small gaps between boards for ventilation.
-
Add layers of coarse materials like sticks or straw at the bottom to improve aeration.
-
Turn the compost every 1–2 weeks to introduce fresh oxygen.
A well-ventilated bin keeps microbes active and your compost healthy.
Balancing Browns and Greens
The success of composting depends on the correct ratio of browns (carbon-rich materials) and greens (nitrogen-rich materials).
-
Browns: Dry leaves, cardboard, newspaper, sawdust, straw.
-
Greens: Kitchen scraps, coffee grounds, grass clippings, vegetable peels.
The general rule is 3 parts browns to 1 part greens. Too many greens cause odor and soggy compost, while too many browns slow decomposition.
Tips for balance:
-
Alternate layers of greens and browns.
-
Chop larger materials to speed up breakdown.
-
Avoid meat, dairy, oily foods, or pet waste, which attract pests.
By managing inputs carefully, you’ll have rich compost without foul smells.
Managing Moisture Levels
Compost needs the right amount of moisture—too dry and decomposition slows, too wet and the pile turns slimy.
-
Ideal moisture feels like a wrung-out sponge: damp but not dripping.
-
If too dry, sprinkle with water while mixing.
-
If too wet, add more browns like shredded newspaper or dry leaves.
-
Covering the pile with a lid or tarp helps regulate moisture during rain.
Maintaining moisture balance is crucial for a no-smell compost setup.
Step-by-Step Setup Guide
-
Choose your container: Select a bin, trash can, or pallet structure.
-
Drill or create holes: Add ventilation openings on the sides and bottom.
-
Start with a brown layer: Place sticks, straw, or shredded cardboard at the bottom.
-
Add greens: Layer in kitchen scraps or grass clippings.
-
Alternate layers: Continue adding greens and browns in a 3:1 ratio.
-
Maintain moisture: Spray lightly if dry, add browns if too wet.
-
Turn regularly: Mix every 1–2 weeks with a pitchfork or shovel.
Within a few weeks to months, you’ll see dark, crumbly compost forming at the bottom.
Keeping Your Bin Odor-Free
A no-smell compost bin is possible with proper care. Follow these rules:
-
Always cover fresh kitchen scraps with a layer of browns.
-
Never add cooked food, meat, or dairy.
-
Turn the pile regularly for oxygen flow.
-
Avoid letting the compost get waterlogged.
-
Keep the lid closed to deter flies and pests.
By sticking to these practices, your compost will smell earthy, not rotten.
Using Your Finished Compost
Finished compost is dark, crumbly, and has a pleasant earthy smell. You can use it in many ways:
-
Mix into garden beds to enrich soil.
-
Use as topdressing for lawns.
-
Add to container gardens to improve water retention.
-
Blend into potting mixes for houseplants.
Regular use of compost reduces the need for chemical fertilizers and improves soil health naturally.
Common Mistakes to Avoid
-
Building bins without drainage or airflow holes.
-
Adding too many greens, leading to a slimy, smelly mess.
-
Forgetting to turn the pile, which slows decomposition.
-
Storing the bin in direct sun, which dries out compost too quickly.
-
Expecting finished compost too fast—patience is key, as it usually takes 2–4 months.
Avoiding these mistakes will make composting a simple, low-maintenance habit.
Why DIY Composting Matters
Making your own compost bin is more than a gardening project—it’s a step toward sustainability. By recycling kitchen scraps and yard waste, you reduce landfill contributions and create free fertilizer. Composting also teaches the natural cycle of waste returning to soil, reinforcing eco-friendly habits in daily life.
FAQs
How long does it take to make compost in a DIY bin?
Depending on conditions, compost can be ready in 2–4 months if regularly turned and balanced.
Can I compost indoors?
Yes, smaller bins or bokashi systems are perfect for apartments or balconies.
What should I never put in a compost bin?
Avoid meat, dairy, oily foods, diseased plants, and pet waste.
Do I need to buy special equipment?
No. A simple bin with holes, a shovel for turning, and basic kitchen waste are enough.
How do I know compost is ready to use?
It should look dark, crumbly, and smell earthy, with no visible food scraps.
Click here to know more.